HOW TO MANAGE NATURAL LIGHT WHEN SHOOTING OUTDOORS
Sunday, March 28, 2021 | By: Inside The Apple Photography
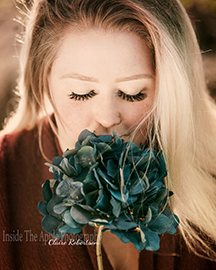 Today I thought we would chat about some of the challenges that can arise when shooting outdoors. The main challenge is the potential lack of control over natural light. We all love a beautiful sunny day, but in truth it is by far the most challenging light you will have to deal with.
Let's start with your primary light source. The sun. Ah, how I love the sun... even as a red head who has to hide from it... I still adore its presence. That said, I have also been known to cringe on days that I know I have to be on location and there is limited, if any, shelter to work with. It is almost comical when I say "it is so bright out, we better add in some lights". Truth. The higher the sun is in the sky, the more you are going to have to fill your area of focus with additional light. This is due to the intense shadows the sun will cause when it passes over anything. Your subject's nose, a tree that stands close to you, even your subject's brow line acts as a shadow casting ledge over the eyes. The eyes tend to appear lost in darkness. I want to do what I can to help you overcome this challenge so you can create beautiful future masterpieces.
The Sun. The time of day that we shoot. The location. Two of these we can control. We'll begin with the first one.
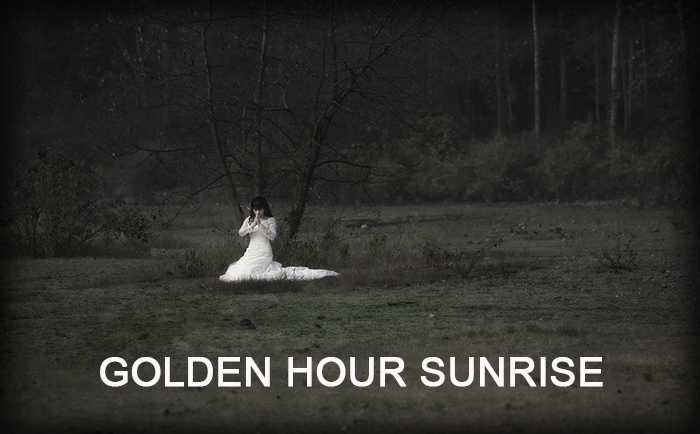
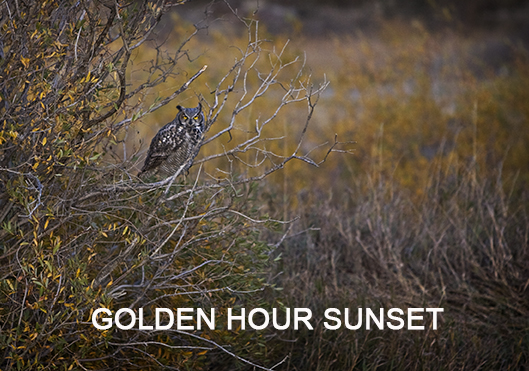
TIME OF DAY THAT WE SHOOT- I say we can control this, but that isn't entirely true. You aren't going to ask your bride to change her wedding time, or stop taking photos during the peak sunny hours. You can, however, be aware of this when you are out and about with your camera. Photographers call the hour after sunrise and the hour before sunset the Golden Hour. The time when the sun offers the most beautiful light for photography. Again, you certainly are not going to wait until those two hours to fit all of your shooting plans in, but if the stars align and you can, WOW! You will love it. In reality, let's talk about the worst time of day. Anytime the sun is overhead, which is typically just before noon until the golden hour before sunset. Don't worry, it isn't all doom and gloom. I will be covering ways in which you can overcome some of this challenge, but first let's move onto the second item you can control...
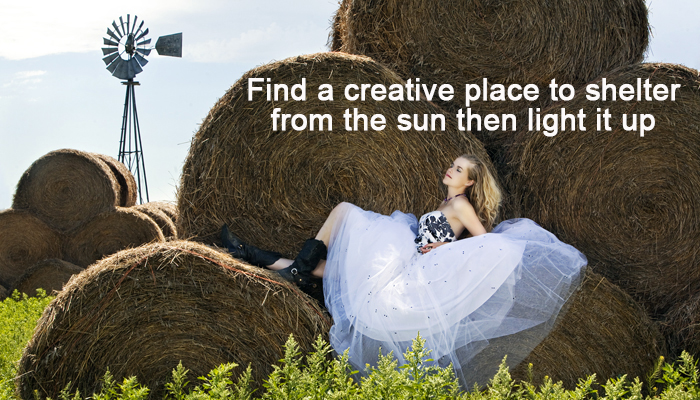
LOCATION- Again, not always, but generally you have a lot more control over this element. If you are planning a session at 2:00 in the afternoon because that is the only time your client or family can all get together, then you just have to be creative. Familiarize yourself with several location options in your area so you aren't scrambling to hide from the sun in the moment. Find a location that offers fixed shade. When I say fixed shade, I mean a structure and not nature. Trees may give us the shade we need on a hot day, but never the shade we need on a shoot. Here's a task I will give you. The next time it's sunny, find any tree and look at the ground around it. There will be many dark shadows and bright spots painting the grass or floor surrounding the tree or trees. Now stand under the tree and put your arm out. Those shadows and bright hot spots will generally fall on your skin as well, which means they will fall across the face of your subject(s). Icky! Being able to work around a fixed building or structure means you can work on the shaded side of the building. When I discuss lighting tools in a moment, I will give you some tricks on how to best light in this situation.
Let's pause for a minute. How are you feeling? Overwhelmed or pumped to carry on? Pumped you say? Awesome... let's continue.
We'll move onto a list of items you may want to consider adding to your arsenal of gear if you are looking to up your lighting game.
- A speed light
- Flash Modifier
- A reflector set
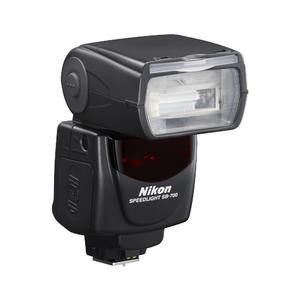 First up, the speed light. In photography terms, you will hear from time to time, on camera, off camera and in camera flash. On camera is when you attach your speed light to the body of your camera. Off camera is when you use a light source such as a remotely triggered speed light on a speed light stand. In camera means using the pop up flash that your camera has built in. It typically pops up when the camera senses more light is required... just an FYI, no, this flash is NOT enough light to win the battle of shadows against the sun. Sorry. Using a speed light on the appropriate setting will fill in shadows and ensure your subjects eyes are not lost.
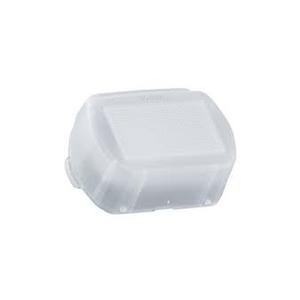 The speed light-- though invaluable to photographers on bright days AND low light situations-- can be extremely harsh and leave hot spots (bright areas) on your subjects face. They can also cause their own shadows if not set and used correctly. It takes some practice to master this lighting, but that's all. You can do it. To help with this, we use modifiers. These are items you can attach directly over the flash of your speed light. A small plastic shell-like cover called a diffuser dome is a very simple and inexpensive way to soften this light. There are various modifiers on the market ranging greatly in price and efficacy, so a great place to start would be a diffuser dome.
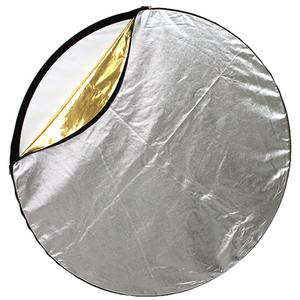 Finally, one of my favourite tools is the reflector. Unlike the speed light, this will only be effective in a full light situation. It will not assist you in low light scenarios like inside dimly lit areas or night photography. This is, however, a great tool and folds up so it is super compact and extremely lightweight. The centre ring is a large diffuser, which will help if you just cannot hide from the sun and you are shooting portraits. The outer reverse/removable shell contains a choice of black, white, silver or gold sleeving. Again, it won't be effective for large groups or distance as it is for precise placement on selected areas. How does it work? Very simply. If you find that perfect shaded spot but there is just a little too much shade and would prefer a softer, more natural light than a speedlight, you might want to brighten your subject. Simply hold the reflector at an angle until you catch the light and slowly maneuver the disc until the light bounces into the place you want to contour. Do be aware however that the reflector magnifies the intensity of light. It may appear as a slight highlight to you, but it could be blinding to your subject. How to hold the reflector in place and shoot. If you are not able to use something to stabilize or hold the reflector in place within the environment you are shooting or do not have an assistant, you can always pick up a reflector stand. They are quite affordable and allow you to twist and spin your reflector into many angles. If it is windy out then be sure to bring a sandbag or two to stabilize it.
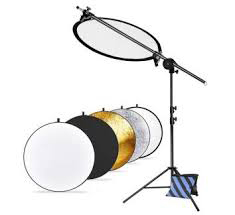
The one thing I should tell you is that overcast days are a photographer's dream! Nature's diffuser. Although you won't have to worry about the harshness of the sun, you want to make sure that your subject's features are not flat due to a complete lack of contouring. Again, a reflector will allow you to illuminate a side of the face for tone and dimension.
Aside from in camera solutions, like the ones I have illustrated above, post production work is crucial. That is for another blog, but if you light your subject well while shooting, the post production work in your computer will be much less time consuming and far more fun!
So just to recap, light is the key element of photography. Photography, from its Greek origin, literally means "drawing with light". It can be complex to learn, but keep at it. It will make a huge difference in your imagery.
If you found this blog helpful, I would love to hear from you. If there is anything you would like me to write about next time, please drop me a line.
Much Light and Love
Claire


Leave a comment
0 Comments